As you may know, there are many ways to move or migrate a website from one server to another. And there are many tools available to achieve this task as well. However, as always, we recommand you using the means and tools which are the easiest for you to save time and energy. Installatron is one of the hosting or server built-in addon which offers you some of this easy to use tools. “So how do can I do that?”, you may ask? Well let’s get started now!
How to Import an Install (Website) From Different Account/Server
To migrate and import an external installed application hosted elsewhere to a location within your web hosting account…
1- Login your products or web tools account and locate your “Services”
2- Click on the website’s “Hosting Services” which has the website in question
3- Locate Login cPanel and click on that, and this should take you to your cPanel

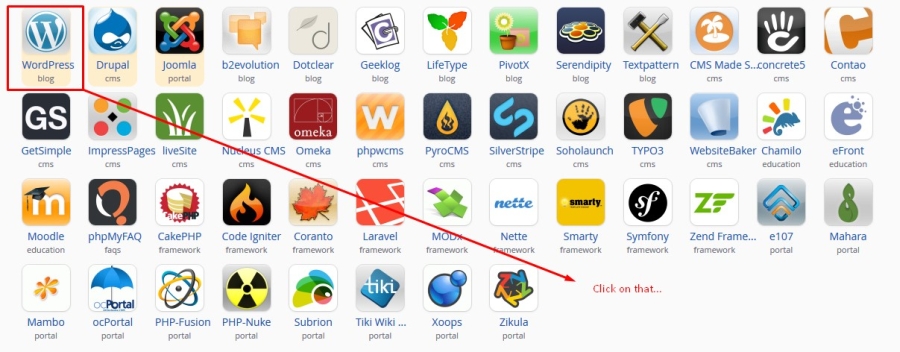
4- Once on your cPanel, open the “Applications Browser” tab, click on the name of application you intend to migrate, click the button next to the “install this application” button, and then select the “From different account” option.
The import wizard will prompt you for information about the installed application’s current location and the location you intend it to be migrated to.
Source (Where the website is coming from)
The “Source” section prompts you for the current location of the installed application in the form of a URL. This should direct Installatron to the top level directory of the application that you intend to migrate.
The web hosting account information for the current location is also prompted, enabling Installatron to connect to and copy data from the installed application.
URL
Enter the URL to the current location of an installed application.
FTP Protocol
Select the protocol Installatron should use to connect to application’s web hosting account.
The default selection is usually fine, but if errors occur try a different option.
FTP Address
The address of application’s web hosting account.
If you don’t know the IP address of the web hosting account, try entering the domain in the form domain.com (without www. or http://)
FTP Port
The web hosting account’s FTP port. The default is normally correct.
FTP Username
The web hosting account’s FTP login name.
This value is typically included in your hosting account’s welcome email.
FTP Password
The web hosting account’s FTP login password.
This value is typically included in your hosting account’s welcome email.
FTP Path
The path from the FTP account’s root directory to location of the URL entered for the install location.
Destination
Select a location for the installed application to be cloned to within your web hosting account.
Domain
Select a domain. The drop-down list contains all domains and sub-domains known to be associated with your web hosting control panel login and can be filtered to help narrow selection.
Directory (Optional)
Enter an optional directory. The directory will be added to the selected domain to determine location of the application.
Leave this field empty if the application exists in the “root” (or home directory, or top-level directory) of the domain.
Database Management
Select “Automatically manage the database settings for me. (Recommended)” if you want Installatron to handle database creation and configuration for the migrated install. This requires that your web hosting account has at least one more database available.
Select “Let me manage the database settings.” if you wish to control the database usage yourself. You will use this option if you want to make use of database sharing (where one database is used for more than one installation), or if you want to use a specific name for the database. This option is for advanced users.
Database Type
The type of database required by this application, either “MySQL” or “MSSQL”.
Database Name
Select the database that you want to use for this application.
The list contains all databases associated with your web hosting account.
Tip: To add a database to the list, use the “Database Management” or “MySQL Management” tool of the control panel. Note that the database will require full access permissions.
Database Username
Enter the username for the database you have selected.
Database Password
Enter the password for the database you have selected.
Table Prefix
Enter a table prefix that will be used by tables associated with this install. This should be 1-5 characters in length, and it’s always recommended to use a prefix when the option is available.
Tip: An underscore (“_”) is not required as Installatron will add it automatically.
Submit
Installatron has all the information it needs to perform the migration. Press the “Import” button to begin the process.
You will be redirected to the “My Applications” tab while the migration executes in the background, and because the migration is executing in the background, you can navigate away from Installatron while the migration completes.
Upon completion, you can begin using your newly migrated application from the “My Applications” tab.[/text_output]


